
USPS Setup
For ShipRite Global Connect
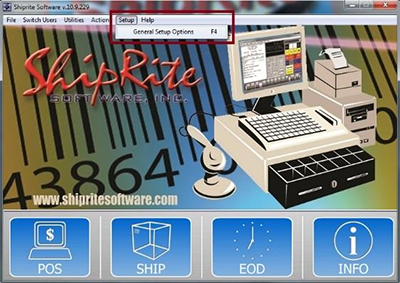
From the ShipRite main menu, click the ‘Setup’ tab, then click ‘General Setup Options’.
Next, click the ‘Carrier Setup’ tab to the right.
From the Carrier Selection menu, choose which carrier to setup.
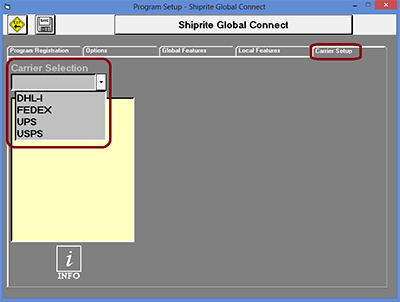
USPS
A. Create an Endicia Account:
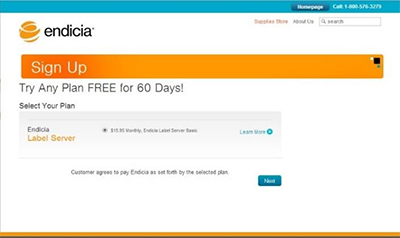
Visit the following website: Endica Discount Sign up.
ShipRite and Endicia have teamed up to provide special discounts for our mutual clients.
Click the Next button to proceed to the next page.
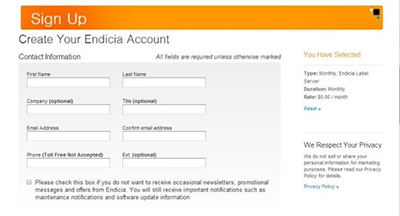
Fill out the Contact Information on the next page.
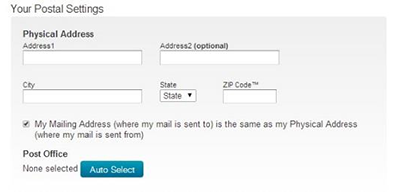
Fill out Your Postal Settings.
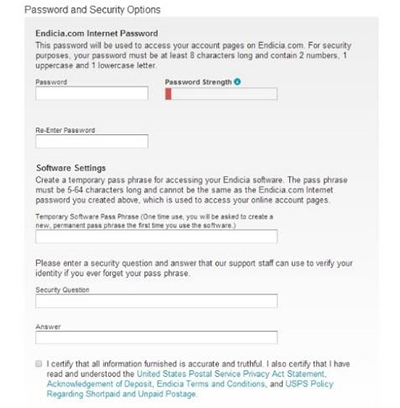
Fill out the Password and Security Options.
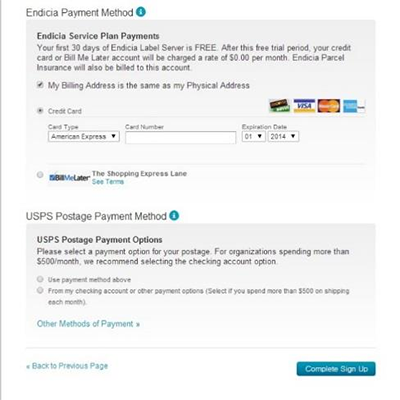
Fill out the Endicia Payment Method and USPS Postage Payment Method.
Click the Complete Sign Up button to finish the account setup and obtain an Endicia Account Number.
B. ENTER ENDICIA CREDENTIALS INTO SHIPRITE:
From the ShipRite main menu, click Setup > General Setup Options.
Click the Carrier Setup tab on the right.
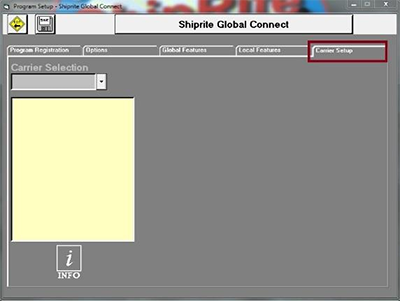
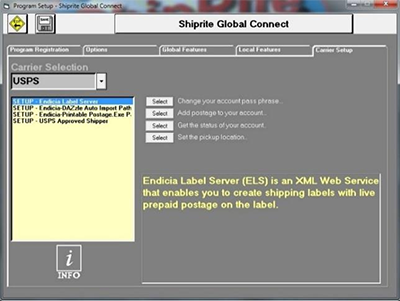
Select USPS from the Carrier Selection drop-down menu.
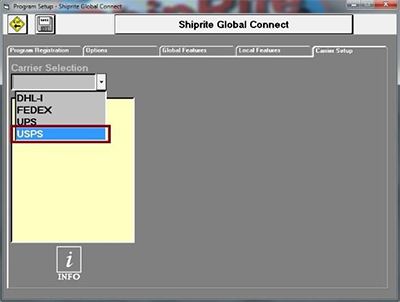
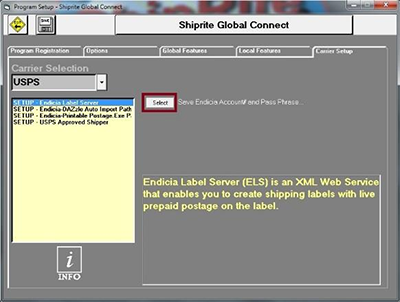
Select “SETUP – Endicia label Server” in the yellow-column.
Click the Select button to enter your Endicia Account Number and Pass Phrase.
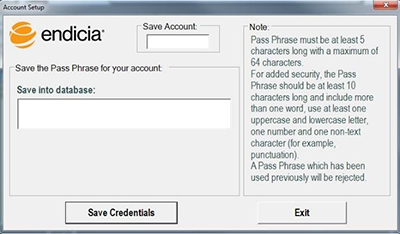
Enter your Endicia Account Number and Pass Phrase into the corresponding textboxes.
Click the Save Credentials button.
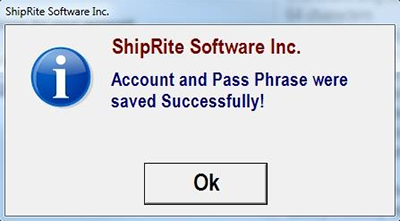
Click the Ok button to proceed.
Now, when USPS is selected from the Carrier Setup screen, you will have a different set of options to change your account pass phrase, add postage to your account, get the status of your account, and set the pickup location.
C. SETUP ENDICIA NetStamps:
With this update ShipRite is replacing the obsolete DYMO Printable Postage integration with Endicia’s new NetStamps product. Please follow the instructions below in order to be able to print stamps on your DYMO printer through the ShipRite MailMaster:
1. From the Carrier Setup screen, select USPS from the Carrier Selection drop-down menu, and select USPS and select “SETUP-Endicia NetStamps Server“
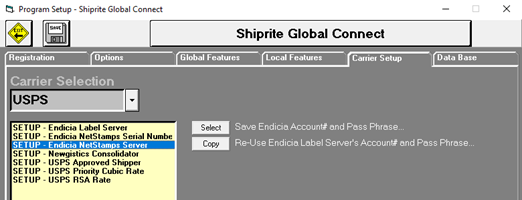
If you use a single Endicia account for printing both DYMO stamps and LabelServer 4×6 labels, then press the COPY button to “Re-Use Endicia Label Server’s Account# and Pass Phrase”. This will copy your already present Endicia LabelServer account information and use it to print NetStamps.
OR
If you have a separate Endicia account for DYMO Printable Postage, then press the “SELECT” button to “Save Endicia Account# and Pass Phrase”. This option will allow you to enter that Account# and Passphrase to print NetStamps.
2. If you have old stock DYMO labels that do not contain a serial number, SKIP THIS STEP and leave the serial number field empty. Endicia will still allow the use of these labels for a limited time.
When using the new NetStamp rolls the serial number needs to be entered into ShipRite.
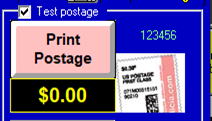
- Serial numbers usually start with a letter and can be found on each label in the format shown to the right.
- Do NOT include the label number.
- Do NOT use the number on the test labels that have a large X on them
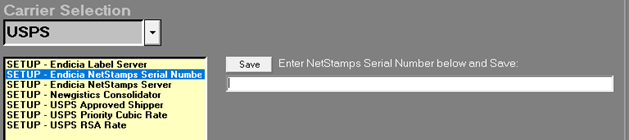
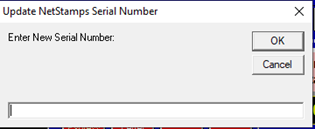
Once the serial number is obtained, select the “SETUP – Endicia NetStamps Serial Number” option, enter in the serial number, and press the “Save” button right above the textbox.
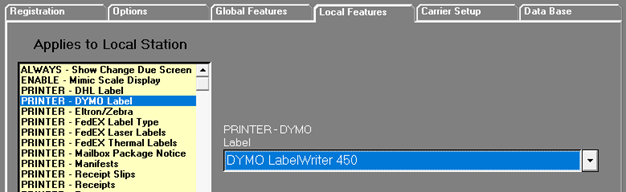
3. Finally, make sure that your DYMO Printer is selected in ShipRite. Click on the LOCAL FEATURES tab and select PRINTER – DYMO Label. Select your DYMO printer from the list and click Update Now.
Workstations:
Steps 2 and 3 need to be repeated on each workstation. The DYMO printer selection and the serial number need to be entered on each POS workstation individually.
On each POS workstation that is used to print stamps, go to Setup > General Setup Options > Local Features > PRINTER – DYMO Label. Set your DYMO printer and click Update Now.
Next, click on “Carrier Setup” and select “SETUP – Endicia NetStamps Serial Number”, enter in the serial number of the roll that this particular workstation is printing to.
Note:
- If you have multiple POS workstation using different DYMO printers, then the serial number will be different on each workstation.
- If you have multiple POS workstation sharing the same DYMO printer, then you still need to enter in the same serial number into each workstation.
Printing NetStamps
In the MailMaster make sure that the correct serial number is displayed in the top right corner, next to the “Print Postage” button. (123456 in the example)
Changing stamp rolls:
Every time a new stamp roll is put into the DYMO printer, the new serial number needs to be entered into ShipRite.
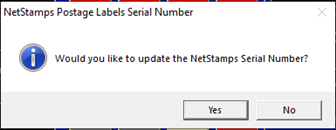
To change or update the serial number, simply double click on the serial number right in the MailMaster.
A message will pop up allowing you to enter in a new serial number.
Say YES, enter in the new serial number, and press OK.
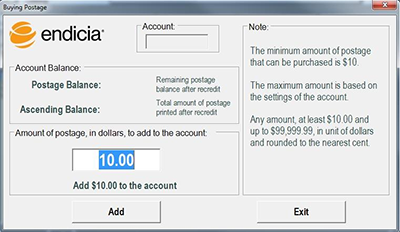
D. ADD POSTAGE TO YOUR ACCOUNT:
- From the Carrier Setup screen, select USPS from the Carrier Selection drop-down menu, and select “SETUP – Endicia Label Server”.
- Click the Select button next to “Add postage to your account…”.
- Enter the amount of postage you wish to add and click the Add button.
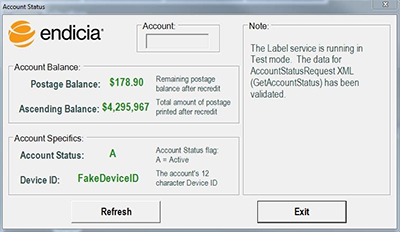
E. GET ACCOUNT STATUS:
- From the Carrier Setup screen, select USPS from the Carrier Selection drop-down menu, and select “SETUP – Endicia Label Server”.
- Click the Select button next to “Get the status of your account…” to show the account balance and account specifics.
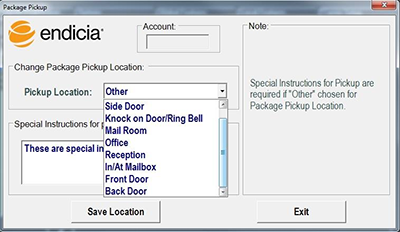
F. SET PICKUP LOCATION:
- From the Carrier Setup screen, select USPS from the Carrier Selection drop-down menu, and select “SETUP – Endicia Label Server”.
- Click the Select button next to “Set the pickup location…”.
- Use the drop-down menu to select a Pickup Location; enter any special instructions if necessary.
- Click the Save location button.
G. FOR USPS APPROVED SHIPPERS:
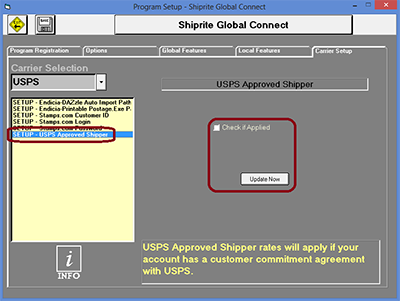
- Select ‘SETUP – USPS Approved Shipper’.
- If you’re an approved USPS shipper, click the ‘Check if Applied’ checkbox.
- Click the ‘Update Now’ button, then click the ‘Save’ button.